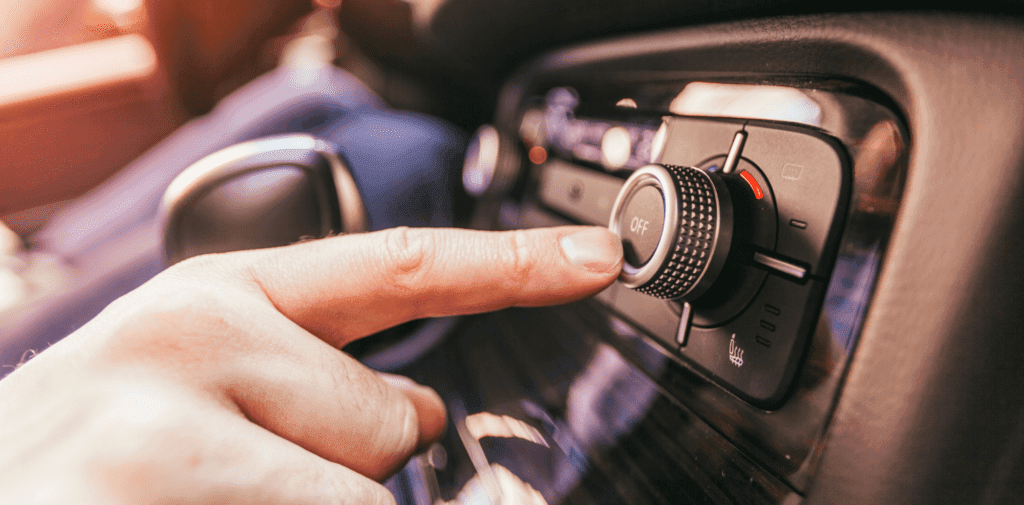
Mastering the use of the accelerator, steering wheel, and brake is fundamental to driving a vehicle. These are considered the primary controls because they directly manage the car’s movement.
However, the cockpit of a car is equipped with many additional controls that are crucial to understand as well.
For the theory test, it’s important to know the function of each control and the appropriate situations for their use.
During the practical test, you will be assessed on your ability to correctly use these controls, as well as your responses to any related questions posed by the examiner.
Our guide aims to familiarise you with the essential car controls, explaining their purposes and how to operate them effectively.
Car Pedals
Overview
Despite the steering wheel placement in the UK being on the right, which differs from vehicles in countries where road users drive on the right side of the road, the car pedals remain in the same order worldwide.
This standardisation is particularly beneficial if you’re planning on driving abroad or if you’re looking to convert a foreign driving licence to a UK one.
Car Pedals in a Manual Vehicle
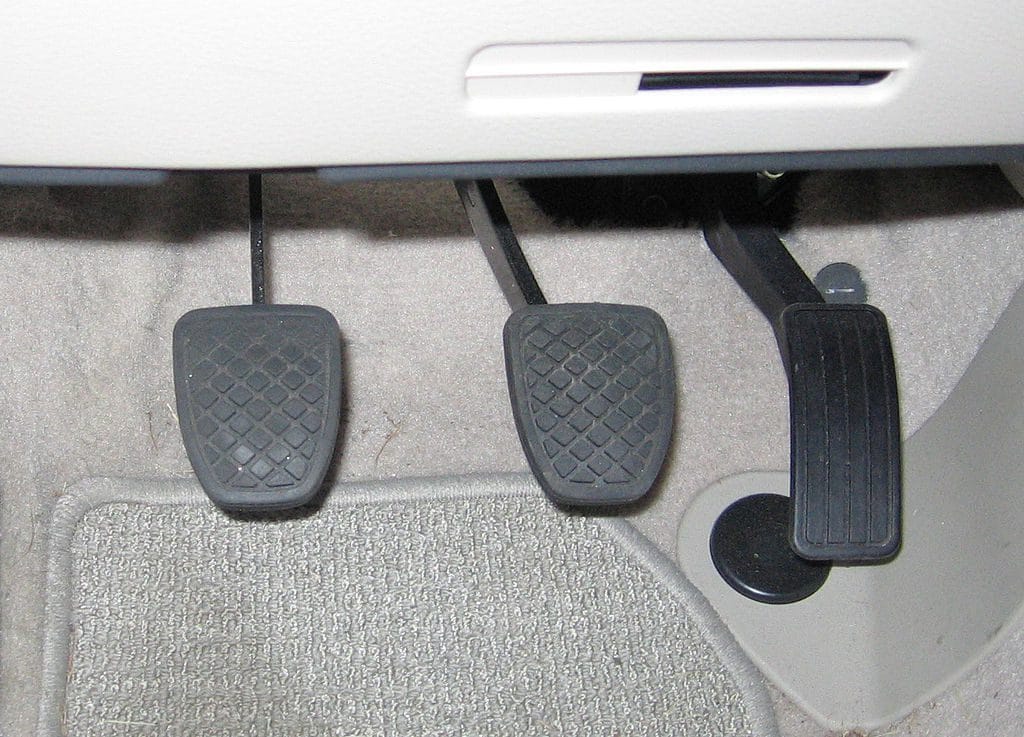
In manual cars, there are three foot pedals. From left to right, these are the clutch, brake, and accelerator. A useful mnemonic if you’re struggling to remember the order is ABC, but in reverse.
Clutch
The clutch, located on the left, is essential for disengaging the engine from the wheels. This action allows you to change gears and come to a stop without stalling the engine. It’s a crucial component for smooth driving.
Operating the Clutch
Your left foot should operate the clutch, allowing you to fully depress and partially release it to find the biting point. When not in use, rest your foot off the pedal, possibly on a designated footrest if available.
Brake
The brake pedal in the middle is designed to reduce speed and, if necessary, bring the vehicle to a stop either gradually or quickly in an emergency.
It’s connected to your brake lights, and you might need to demonstrate how to check if they’re working during your driving test.
Operating the Brake
Use your right foot to control the brake, easing off just before a complete stop to ensure a smooth ride for your passengers.
Accelerator
The accelerator, on the far right, controls the vehicle’s speed. It’s used to move off, increase speed, maintain a constant speed, or slow down.
Operating the Accelerator
To move, apply gentle pressure with your right foot while releasing the clutch to find your biting point.
Adjust pressure on the accelerator to control speed, pressing down to accelerate and easing up to slow down. Uphill driving may require more acceleration to maintain speed.
Car Pedals in an Automatic Vehicle
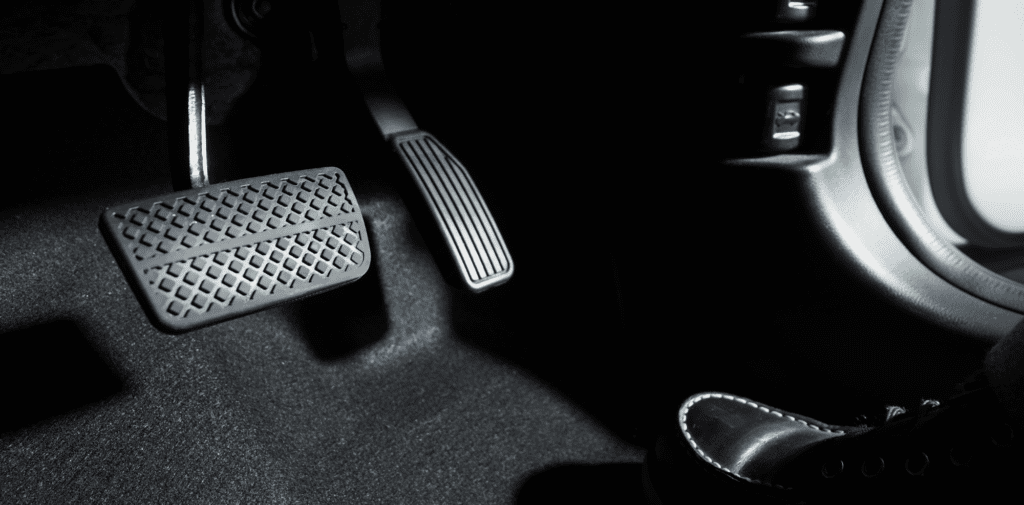
Automatic cars feature only two pedals: the brake on the left and the accelerator on the right. The automatic transmission handles gear changes, simplifying driving.
Operating Pedals in an Automatic
With two pedals and two feet, the setup is straightforward. However, practice is still needed to master the timing of braking and acceleration for safe and fuel-efficient driving.
Learn more about automatic cars to decide if learning to drive one is the right choice for you.
Steering Wheel
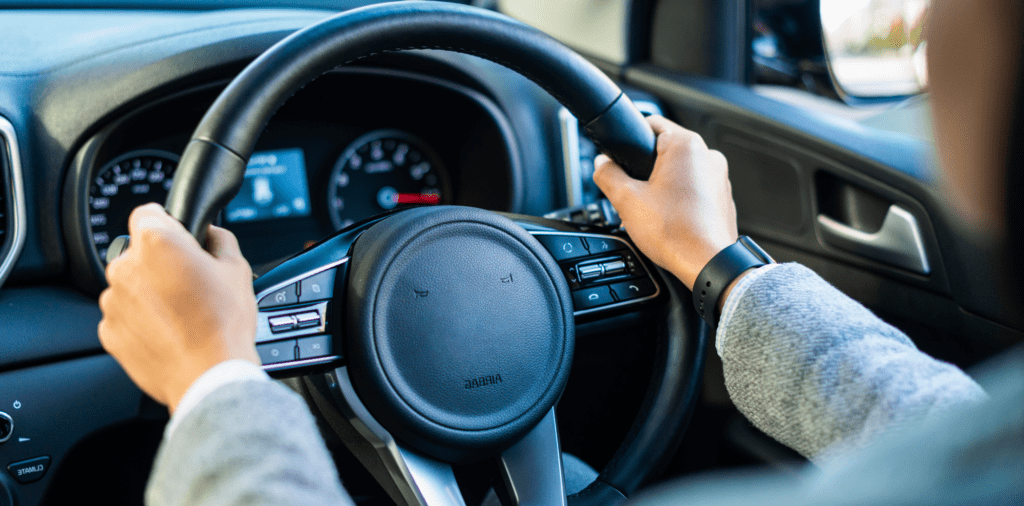
The steering wheel, the prominent round device positioned directly in front of the driver’s seat, is crucial for changing the vehicle’s direction by turning the wheels.
It’s essential not only to know how to steer left and right but also to understand how to check if your power steering is functioning correctly.
Operating the Steering Wheel
Steering Techniques
When it comes to steering, there are effective and less effective methods. The key principles include holding the wheel in a comfortable position, remembering that turning it anticlockwise will steer you left and clockwise will steer you right, and maintaining firm control of the vehicle at all times.
Checking Power Steering
Ensuring your power steering is operational is vital for safe driving. Signs of functional power steering include smoother turning of the wheel and less effort required to steer.
If steering becomes difficult or the wheel feels unusually stiff, it may indicate a problem with the power steering system.
Steering and Driving Tests
Wondering if crossing your hands on the wheel could lead to failing your driving test? It’s a common question with a simple answer: while not recommended for maintaining optimal control, the specifics of steering technique preferences can vary by instructor. The focus is on safe, effective control of the vehicle rather than strict hand positioning.
Ancillary Controls
Overview
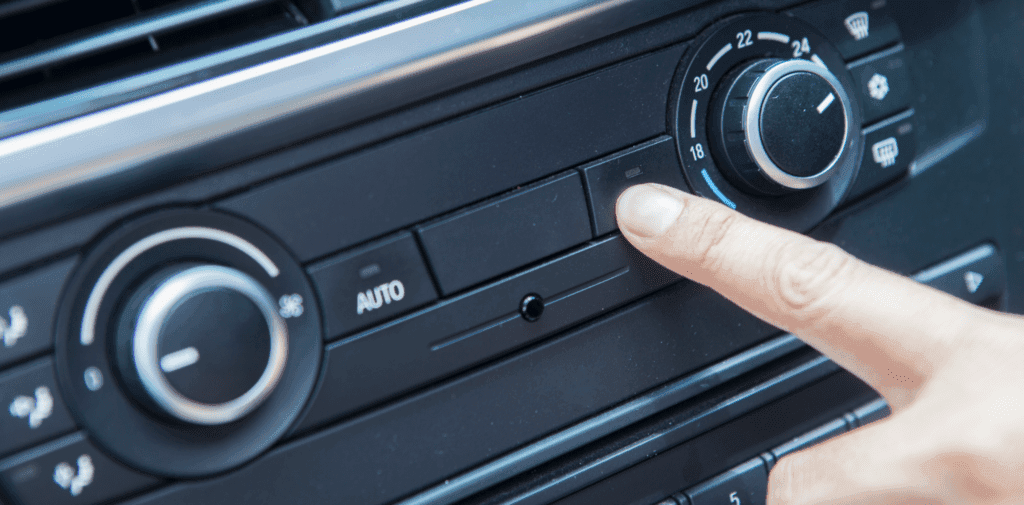
Beyond the primary controls such as the pedals and steering wheel, vehicles are equipped with ancillary controls.
These secondary features support the main functions of driving and are designed to be within easy reach in the cockpit.
Since their placement can vary between vehicles, it’s important to familiarise yourself with these controls before driving.
Categories of Ancillary Controls
Communication Tools
These features enable you to communicate with other road users effectively:
- Indicators for signaling turns
- Horn for alerting others
- Hazard lights for indicating emergencies
Visibility Aids
These controls assist in maintaining clear visibility:
- Lights for seeing and being seen in various conditions
- Windscreen wipers for clear vision in rain or snow
- Demisters for removing condensation from windows
Comfort and Safety Features
To enhance your safety and comfort while driving:
- Heater and air conditioning for temperature control
- Handbrake for securing the vehicle when parked
Using Ancillary Controls During Tests
During your practical test, demonstrating proficient use of ancillary controls while maintaining control of the vehicle is crucial.
The examiner may request you to operate a specific control or explain how you would do so in the ‘show me / tell me‘ part of the test, underscoring the importance of these features in safe and effective driving.
Indicators
Importance of Indicators
Indicators are essential for safety on the roads, as they communicate your intentions to other road users. By using indicators, you can signal actions such as pulling up or moving off, turning at a junction, or changing lanes. This allows others to make informed decisions about their position or speed in response to your actions.

Considerations for Using Indicators
Decision Making
When deciding to use indicators, consider timing, the potential for misleading signals, and the presence of other road users.
It’s crucial to use indicators not only as per the rules but also with judgement in situations that might not be black and white.
Your ability to apply these considerations is something your driving examiner will assess.
Operating Indicators
How to Use
Indicators are typically located on a stalk next to the steering wheel and are operated with a simple flick up or down to signal right or left, respectively. To cancel the indicator, return the stalk to its neutral position.
Indicators’ Feedback
When activated, vehicles produce an intermittent sound, and a flashing arrow appears on the dashboard. These serve as reminders to deactivate the indicator after completing your manoeuvre.
Mirror-Signal-Manoeuvre Routine
Always adhere to the mirror-signal-manoeuvre routine. This involves checking your mirrors to ensure it’s safe, signalling your intended action with your indicators, and then executing the manoeuvre. This routine is fundamental to safe and effective driving.

Hazard Warning Lights
Importance of Hazard Warning Lights
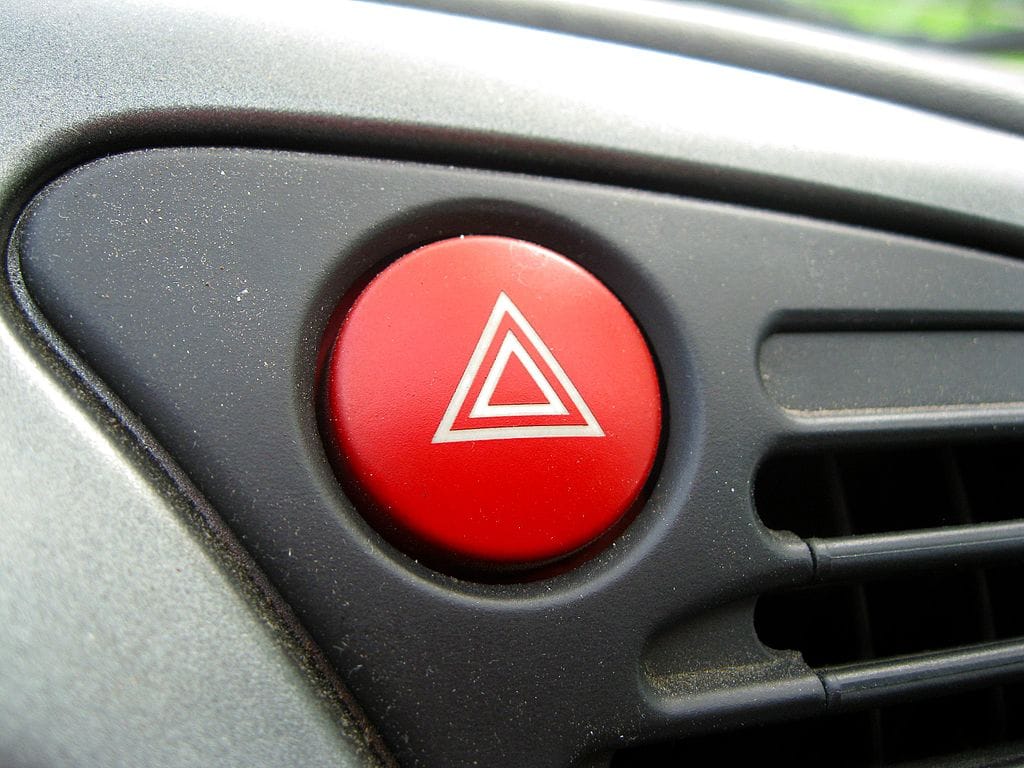
Hazard warning lights are crucial for communicating potential dangers to other road users. When activated, both the left and right indicators flash simultaneously, signalling a need for attention.
This can be due to slowing traffic suddenly or if your vehicle encounters a problem and needs to indicate a halt or slow down for safety.
Operating Hazard Warning Lights
Locating the Control
The control for the hazard lights is typically marked by a button with a triangle inside another triangle on the dashboard. This design is universally recognised and often incorporates red to signify urgency or caution.
Activation
To activate your hazard lights, simply press the button. A second press will turn them off. It’s straightforward but essential for safety in critical situations.
Horn
Purpose of the Horn
The horn serves as a critical method of communication for drivers, intended primarily for alerting others to an immediate risk of danger.
Its use should be reserved for situations where it’s necessary to quickly draw attention to prevent potential accidents.
Operating the Horn
Location and Activation
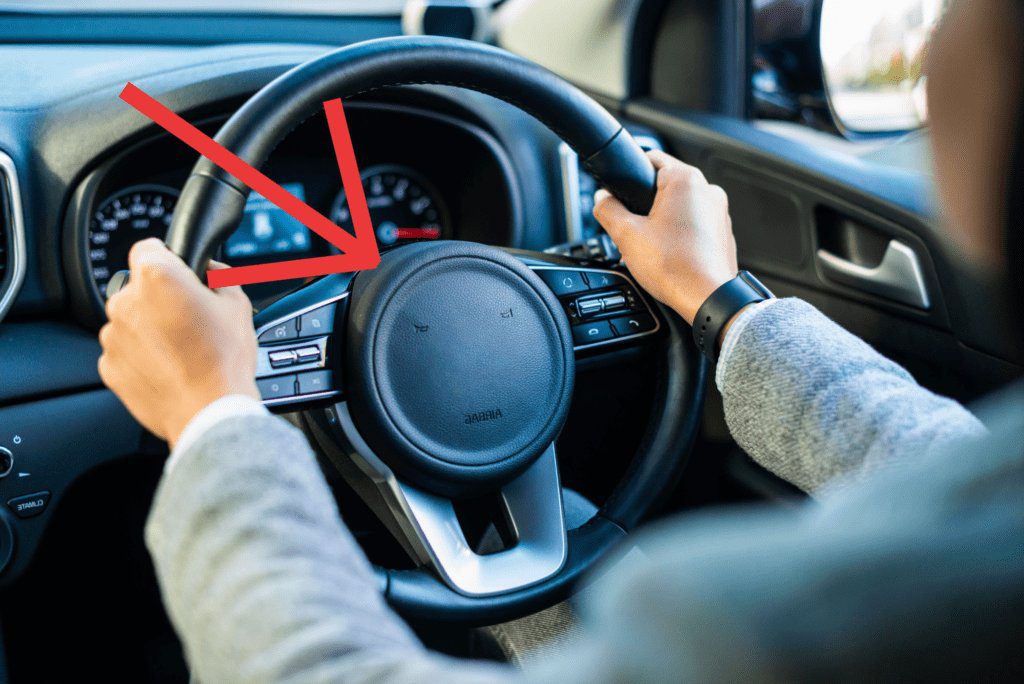
The horn is typically integrated into the steering wheel and is activated by applying firm pressure. While its operation might seem intuitive, it’s important to familiarise yourself with its sensitivity and location before you need to use it in a real driving scenario, especially before taking your driving test.
Appropriate Use
Remember, the horn is not a tool for expressing frustration or anger on the road. Its purpose is strictly for safety—to warn others of dangers or to prevent accidents. It’s crucial to use it responsibly and only when absolutely necessary.
Lights
Understanding Vehicle Lights
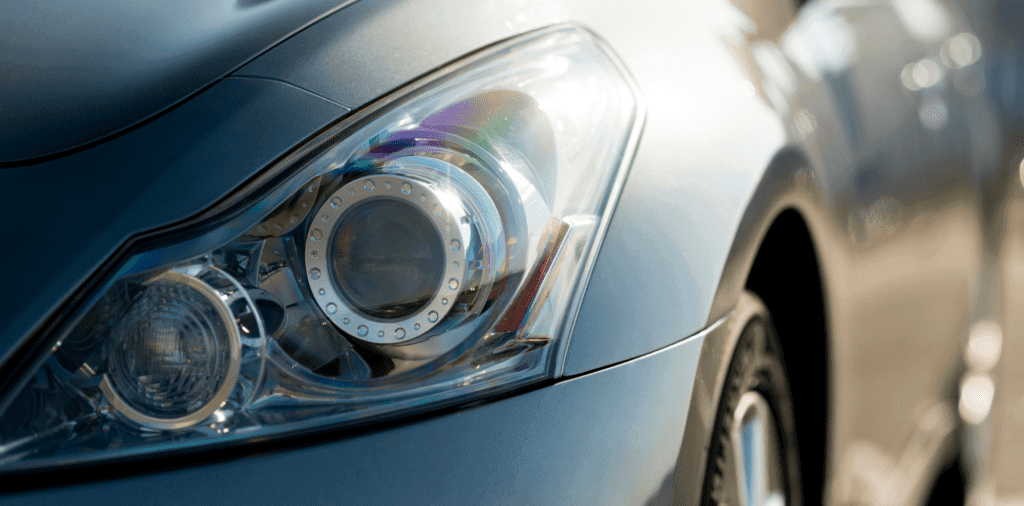
Vehicle lights play a crucial role in enhancing visibility for the driver. There are primarily four types of lights each driver should be familiar with: sidelights, dipped headlights, full beams, and fog lights. Selecting the appropriate type based on the driving conditions is essential for safety.
When to Use Each Type of Light
Sidelights
Use sidelights in dull weather or during twilight to make your vehicle visible without dazzling other road users.
Headlights
Headlights should be used from half an hour after sunset to half an hour after sunrise, or during any period of reduced visibility in the daytime.
Full Beam Headlights
Full beam headlights are suitable for travelling in the dark on unlit roads, provided they do not inconvenience other road users. They offer enhanced visibility but should be switched off when another vehicle is approaching.
Fog Lights
Fog lights are designed for use in very poor visibility, such as heavy fog. They help other drivers see you and improve your ability to navigate.
Operating Your Car Lights
Activation Methods
The method to activate car lights can vary between vehicles. In some, twisting the end of an indicator stalk controls the sidelights and headlights. For full beams, you may need to push the stalk away from you.
In other vehicles, a dial may allow you to select between different lighting options.
Fog Lights
Fog lights often have a separate button due to their less frequent need. Familiarise yourself with their location to ensure you’re prepared for poor visibility conditions, both for safety and to meet the requirements of your driving examiner.
Windscreen Wipers
Importance of Windscreen Wipers
Windscreen wipers are essential for maintaining clear visibility through your windscreen in various conditions, including light drizzle, torrential rain, swirling snow, as well as dirt and debris.
Even though many modern vehicles can automatically detect precipitation and activate wipers, understanding how to operate them manually is crucial.

Operating Windscreen Wipers
Manual Activation
The control for windscreen wipers is typically found on a stalk to the side of your steering wheel, opposite the indicators. This stalk allows you to adjust the speed settings of the wipers based on the intensity of the precipitation and the need for windscreen clearing.
Speed Settings and Adjustments
By flicking the stalk upwards, you increase the frequency of the wipers. If your vehicle is equipped with a rear windscreen wiper, activating it may involve a different method, such as pushing or twisting the control stalk.
Fine-Tuning
Some vehicles allow you to fine-tune the timing of the wiper intervals with a small dial on the stalk, enabling you to achieve the perfect wiping rhythm for varying conditions.
Using Screenwash
For situations where wiping alone isn’t sufficient, employing screenwash—which may contain antifreeze in winter—is necessary.
The push and pull functions on the stalk typically eject screenwash onto the front and back windscreens.
Following the spray, the wipers automatically activate to clean the glass effectively.
Single Wipe Function
For instances like clearing spray from another vehicle, pressing the stalk downward activates a single wipe, ensuring you can quickly regain a clear view.
Demisters
Introduction to Demisters
Demisters play a crucial role during cooler weather, preventing the inside windows of your vehicle from misting up. Ensuring your windows are fully cleared before starting any journey is essential for safety.
Operating Rear Windscreen Demister
Activation
The demister button for the rear windscreen is typically located on the dashboard and is identifiable by an icon featuring three upward arrows, symbolising heat. To activate or deactivate the demister, simply press the button once.
Demisting the Front Windscreen
Heated Front Windscreens
If your vehicle is equipped with a heated front windscreen, the control is often situated near the button for the rear windscreen. Activation is just as straightforward.
Using Heat Settings
In the absence of a heated front screen, the heat settings on your vehicle will be necessary to clear mist.
Begin with cool air directed at the windscreen, gradually increasing the temperature for effective demisting. This method clears the glass more efficiently than immediately selecting a high heat setting.
Additional Tips
- Air Conditioning: Activating the air conditioning helps to dry the interior air, aiding in quicker demisting when used alongside the heater.
- Opening Windows: For an alternative method, slightly opening the windows can also help to demist your windscreen by allowing moisture to escape.
Heating and Air Conditioning
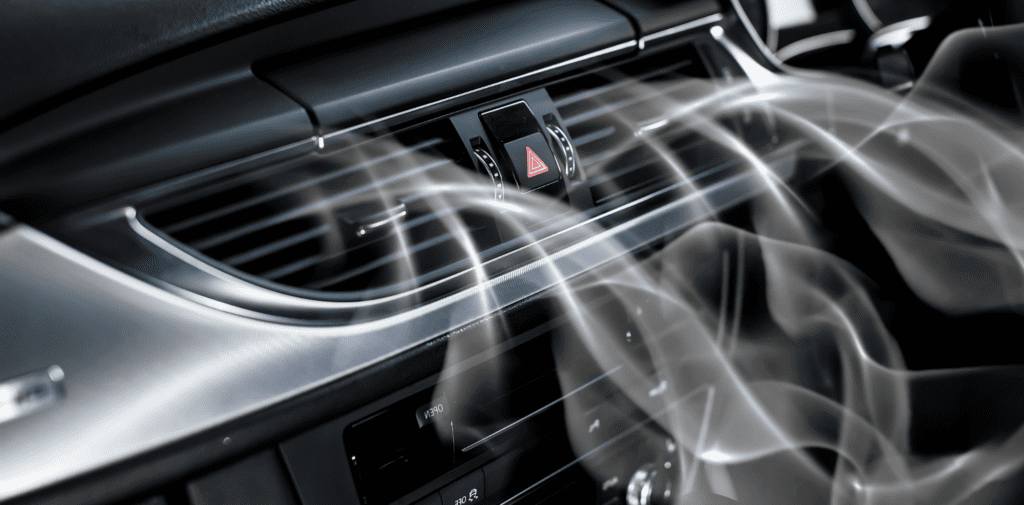
Importance of Ventilation and Temperature Control
The ventilation and temperature control systems in a vehicle are not only crucial for demisting windows but also play a significant role in maintaining alertness and comfort for both the driver and passengers.
Operating Heat and Air Conditioning Settings
Vent Selection
You have the flexibility to choose through which vents the heat or air conditioning (AC) is distributed. By setting the dial to a position between two symbols, you can combine the benefits of different vents. Additionally, you can manually adjust the vents to open, close, or redirect the airflow as needed.
Adjusting Airflow Intensity
The intensity of the airflow can be controlled, typically by a dial or button located next to the temperature gauge, which is often marked with numbers. This allows you to determine how forcefully the air is expelled.
Fresh Air vs. Recirculation
For optimal comfort, maintaining a constant flow of fresh air into the vehicle is advisable. However, in situations where you encounter polluted areas, you might prefer to switch to recirculating the air already inside the car. The controls for selecting between fresh air and recirculation are usually found near the heating settings.
Air Conditioning
Most modern vehicles are equipped with air conditioning. If your car has this feature, activating it is as simple as pressing the button labelled ‘AC’. This function is especially useful in warmer conditions to maintain a cool and comfortable environment inside the vehicle.
Handbrake
The Role of the Handbrake
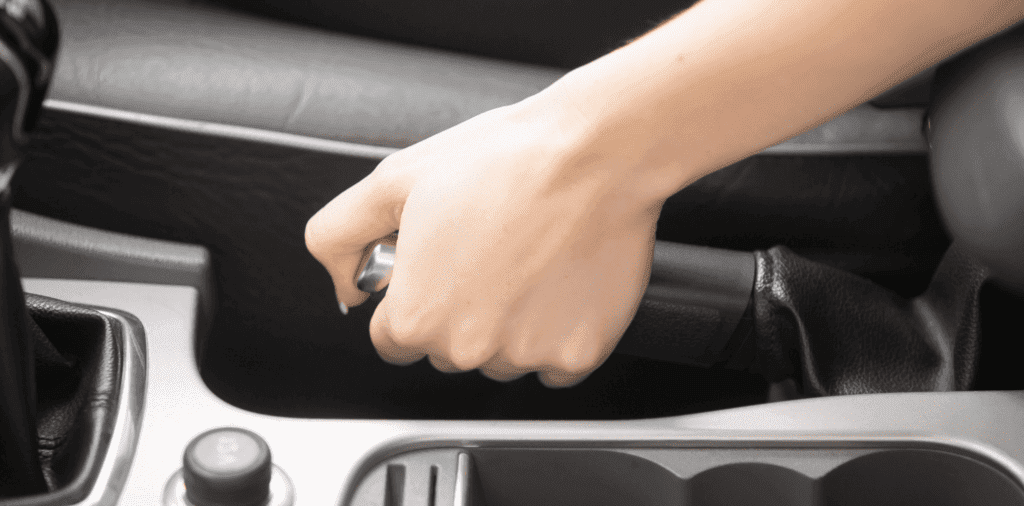
The handbrake is an essential component for maintaining your vehicle’s stationary position during prolonged stops, such as waiting at traffic lights.
It offers a practical solution for resting your feet by shifting the gear stick to neutral and avoids unnecessary wear on the clutch and the annoyance of dazzling the vehicle behind with your brake lights.
Additionally, the handbrake is invaluable for performing smooth hill starts, freeing up your feet to finely balance the clutch and accelerator.
Operating Your Handbrake
Traditional Handbrake Lever
In older vehicles, the handbrake is typically a lever located to the left-hand side of the driver. To engage the handbrake, press the button at the top of the lever and pull upwards. Ensure the lever is pulled up sufficiently to secure the vehicle, but avoid overextending it to prevent it from becoming loose over time.
To disengage the handbrake, press the button again and lower the lever to its original position. Be aware that driving with the handbrake partially engaged can damage your vehicle. A red exclamation mark within a triangle on your dashboard will alert you if the handbrake is not fully released.
Handbrake Button in Newer Vehicles
Some modern cars replace the traditional lever with a handbrake button, simplifying the process of engaging and releasing the handbrake. This feature is part of the advancements in vehicle design aimed at enhancing user convenience and safety.
Frequently asked questions
While we’ve discussed the majority of ancillary controls essential for your practical test, there are additional functions you should be familiar with. It’s crucial to know how to:
- Adjust your mirrors
- Open and close your windows
- Interpret the warning symbols on your dashboard
Certain vehicles come equipped with extra features, such as heated seats or climate control, which, although not typically assessed by your driving examiner, are important for your safety and comfort.
To ensure you’re fully prepared, consult the vehicle’s handbook for any buttons, dials, or settings that are unfamiliar to you.
Using any of the ancillary controls in your car means you’ll need to remove a hand from the steering wheel and divert your attention from the road.
Although these controls are designed to be within easy reach and operated with minimal risk, there are measures you can take to further reduce any potential hazards:
- Wait until hazards have passed before adjusting any secondary car controls.
- Adjust the driving seat and steering wheel to the optimal position for easy access to these controls without compromising your control over the vehicle or your view of the road.


